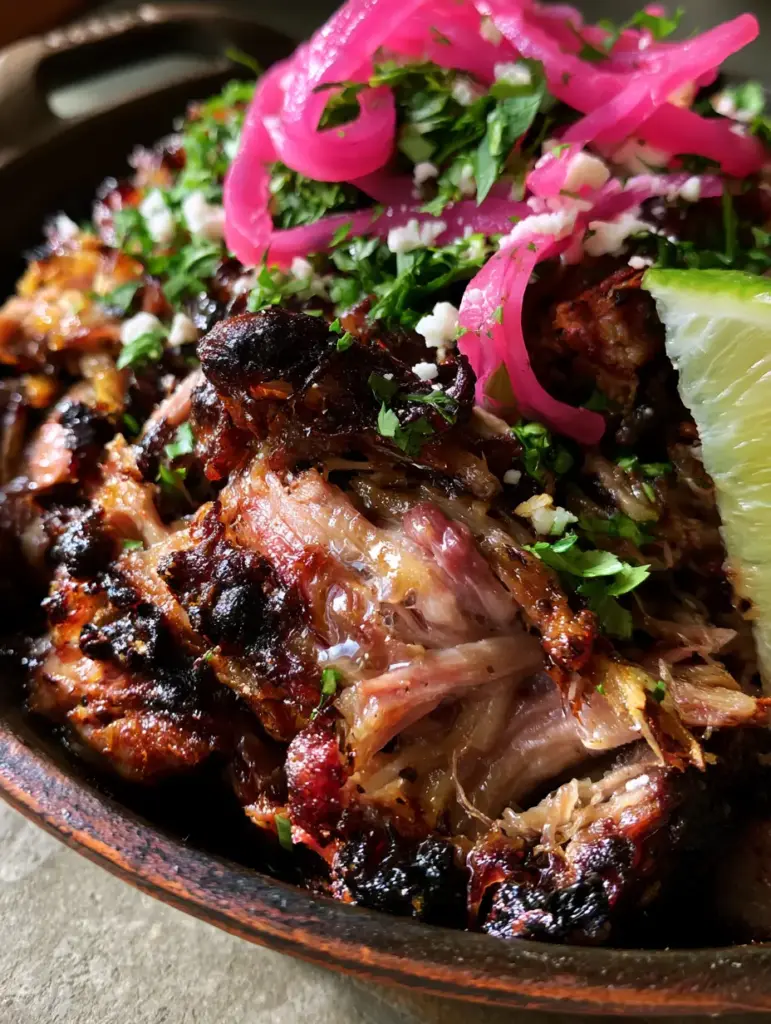
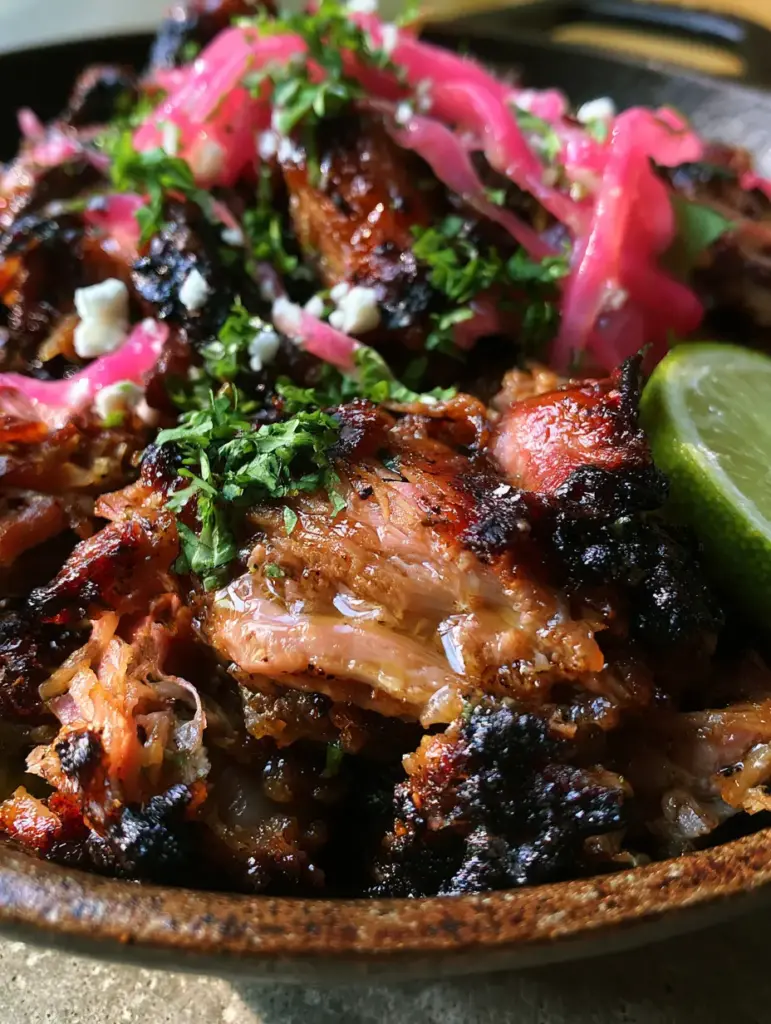
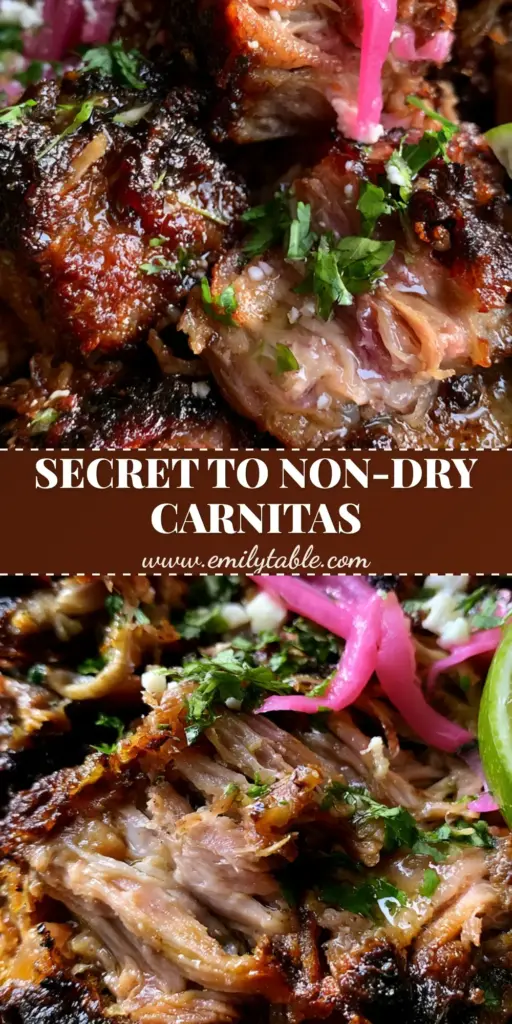
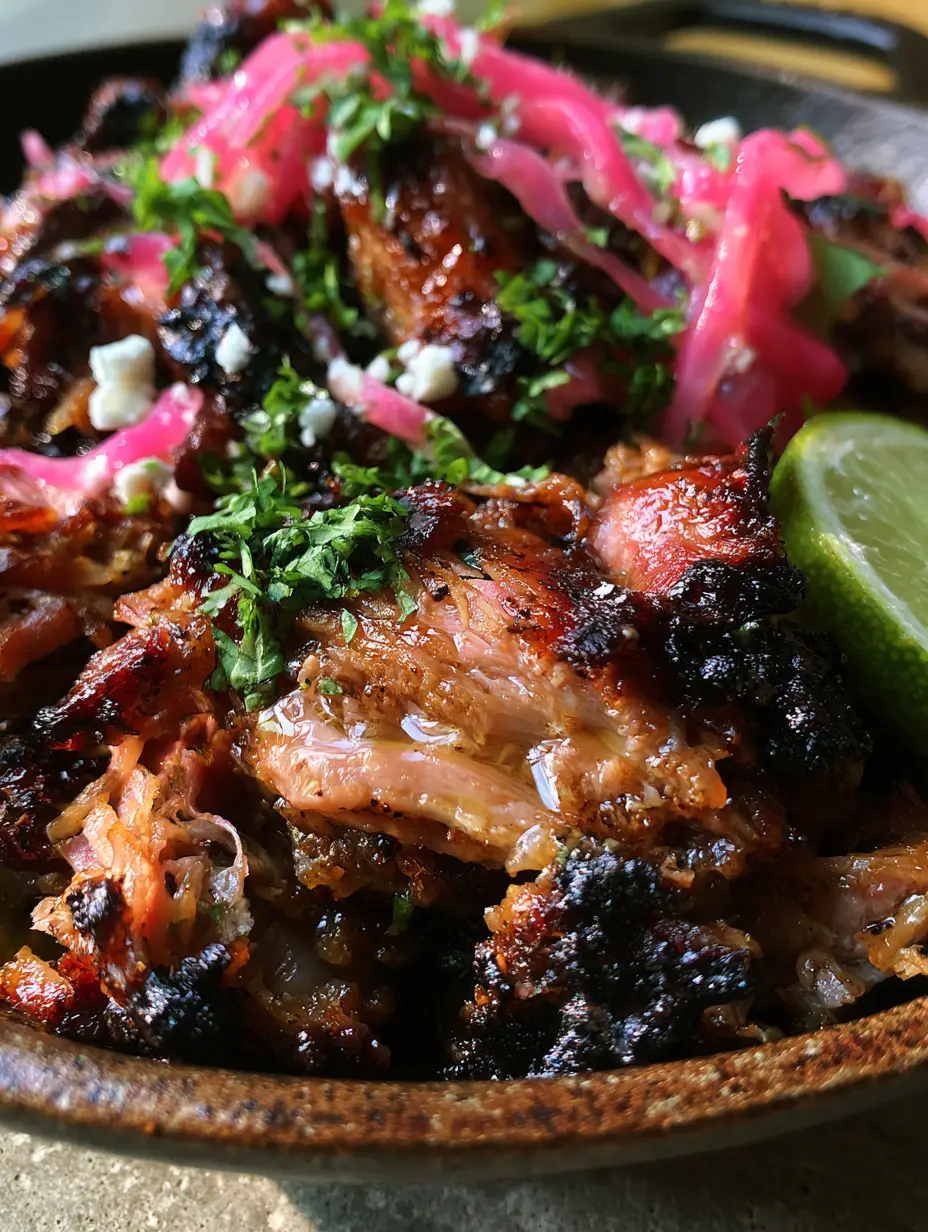
Pork Carnitas are often called the “king of taco meats,” and for good reason. When prepared correctly, they offer a breathtaking contrast between succulent, moisture-rich pale pink interior fibers and those iconic, deep mahogany caramelized burnt ends that shatter with every bite.
This recipe is designed to bridge the gap between traditional slow-cooking methods and the high-resolution, gourmet results you see in professional food photography. We are focusing on achieving that exact visual harmony: glistening rendered juices glowing under soft light, accented by the vibrant pink of pickled onions and the snow-white crumble of cotija cheese.
Whether you are hosting a festive gathering or preparing a high-protein meal prep for the week, mastering these Pork Carnitas will elevate your culinary repertoire. We aren’t just making a meal; we are engineering a sensory experience that balances salt, fat, acid, and heat in a rustic cast iron setting.
The Science of the Perfect Pork Carnitas Crust
- Unmatched Texture Contrast: By utilizing a two-stage cooking process, we ensure the meat remains tender enough to shred while the exterior achieves a crisp, chicharron-like crunch.
- Visual Depth: The combination of citrus sugars and rendered pork fat creates a natural mahogany glaze that looks as good as it tastes.
- Vibrant Flavor Profiles: We balance the heavy, savory notes of slow-roasted pork with the sharp acidity of lime juice droplets and the bite of pickled red onion slivers.
- Authentic Presentation: Serving directly from a rustic cast iron skillet retains heat and provides a stunning, high-contrast backdrop for the bright green cilantro and white cotija cheese.
Foundational Ingredients for Succulent Pork Shoulder
Pork Shoulder (Butt): 4 lbs (1.8kg) of well-marbled pork shoulder is the non-negotiable base. This cut contains the necessary connective tissue and intramuscular fat that breaks down into gelatin, providing that glistening, moisture-rich interior.
Lard or Neutral Oil: 1/4 cup (60ml) of fat is essential for the final searing stage. While the pork renders its own fat, adding a high-smoke-point oil ensures those deep mahogany caramelized edges develop without burning the meat fibers.
Kosher Salt and Coarse Black Pepper: 2 tbsp (30g) salt and 1 tbsp (6g) pepper provide the foundational seasoning. Salt is chemically required to denature the proteins, allowing the pork to retain moisture during the long roasting period.
Citrus Duo (Orange and Lime): 1 cup (240ml) fresh orange juice and 2 tbsp (30ml) lime juice. The acids tenderize the meat while the sugars in the orange juice are the primary driver behind the beautiful browning (Maillard reaction) seen in the final dish.
Aromatic Trinity: 1 large white onion (chopped), 6 cloves of smashed garlic, and 2 dried bay leaves. These “invisible” ingredients infuse the rendered fat with a complex savory baseline that supports the primary pork flavor.
Dry Spice Blend: 1 tbsp (6g) dried oregano and 1 tsp (2g) ground cumin. These spices provide the earthy, floral notes characteristic of authentic Mexican cuisine, cutting through the richness of the fat.
The Visual Finishers: 1/2 cup (15g) fresh chopped cilantro, 1/2 cup (60g) crumbled cotija cheese, and 1/4 cup (40g) pickled red onion slivers. These are not just garnishes; they provide the essential color contrast and acidic brightness described in our visual blueprint.
Essential Tools for Authentic Texture
To achieve the results seen in professional macro photography, you need a Heavy Cast Iron Skillet. The thermal mass of cast iron is unparalleled for creating those charred edges that a standard stainless steel pan simply cannot replicate.
You will also require a Large Dutch Oven for the slow-roasting phase. A tight-fitting lid is crucial to prevent the moisture from escaping, ensuring the pork fibers remain succulent and pale pink rather than grey and dry.
Finally, a set of Sturdy Meat Shredding Forks or a stand mixer with a paddle attachment will help you achieve the perfect fiber separation. You want long, glistening strands of meat rather than a pulverized mush.
The Step-by-Step Road to Mahogany Burnt Ends
Phase 1: The Aromatic Slow Roast
Preheat your oven to 300°F (150°C). Cut the pork shoulder into 2-inch (5cm) chunks, keeping the fat caps intact. Season aggressively with salt, pepper, oregano, and cumin, ensuring every surface is coated.
Place the pork in the Dutch oven along with the onion, garlic, bay leaves, orange juice, and lime juice. Add enough water or chicken stock to just barely cover the meat. Cover tightly and roast for 3 to 3.5 hours.
Visual & Sensory Cue: The pork is ready when it offers zero resistance to a fork. You should smell a deep, sweet citrus aroma mingled with savory roasted garlic. The meat should be pale pink and glistening with rendered fat.
Phase 2: Shredding and Moisture Retention
Remove the meat from the liquid and let it rest for 10 minutes. Using two forks, shred the pork into bite-sized pieces. Do not discard the cooking liquid; this “liquid gold” is packed with flavor.
Toss the shredded meat with 1/2 cup (120ml) of the strained roasting liquid. This ensures that even as we crisp the exterior, the interior remains succulent and moisture-rich, just like our visual blueprint dictates.
Phase 3: The Cast Iron Sear (The Finishing Touch)
Heat your rustic cast iron skillet over medium-high heat with a tablespoon of lard or oil. Spread the shredded pork in an even layer, pressing down slightly with a spatula. Work in batches to avoid crowding the pan.
Sear for 3-5 minutes without moving the meat. You are looking for the sugars to caramelize into deep mahogany charred edges. Flip and sear for another 2 minutes, then remove from heat.
Visual & Sensory Cue: Look for the “glisten.” The meat should have a subtle glow from the rendered juices, with visible dark, crispy tips contrasting against the soft, pale pink interior fibers.
Professional Secrets for Shredding and Crisping
- Don’t Over-Shred: Leave some larger chunks in the mix. This creates a variety of textures—some pieces will be all crunch, while others will be purely succulent.
- The Broiler Shortcut: If you are serving a crowd, spread the shredded meat on a sheet pan and broil for 5-8 minutes. It’s less authentic than the cast iron, but great for recipes like Doritos taco casserole inspired twists.
- Acid Balance: Always add your lime juice droplets at the very last second. The Vitamin C in the lime juice begins to dull the vibrant green of the cilantro if left to sit too long.
- Temperature Control: Ensure your cast iron is smoking hot before adding the meat. We want to sear the outside quickly without drying out the moisture-rich interior.
Maximizing Flavor with Proper Storage
Pork Carnitas are an exceptional make-ahead meal. Store the shredded, un-crisped meat in its cooking liquid in an airtight container for up to 4 days in the refrigerator. The fat will solidify on top, acting as a natural seal to preserve freshness.
To reheat, simply perform the “Phase 3” cast iron sear mentioned above. This will melt the fat, re-moisturize the meat, and provide that fresh-cooked crunch. For longer storage, this pork freezes beautifully for up to 3 months.
The Ultimate Pairing Guide
While these carnitas are the star of any taco, they also pair beautifully with other Latin-inspired dishes. For a full spread, serve them alongside garlicky yuca con mojo or a side of spicy papas con chorizo.
If you have leftover meat, it makes a spectacular protein addition to zesty taco salad bowls or can even be used as a filling for crispy tacos dorados. The richness of the pork also complements the textures found in a authentic Vaca Frita, making for a meat-lover’s platter.
Deep Dive: Your Pork Carnitas Questions Answered
Yes, you can cook the pork on low for 8 hours, but you must still perform the final searing step in a skillet or under a broiler to achieve the signature crispy texture.
The secret is searing the shredded meat in a hot cast iron skillet with rendered lard or oil, allowing the sugars from the orange juice to caramelize into mahogany burnt ends.
While not strictly necessary for flavor, cotija cheese provides a salty, creamy contrast that balances the richness of the pork and the acidity of the pickled onions.
Pork shoulder, also known as pork butt, is the best cut due to its high fat content and connective tissue, which break down during slow roasting to create succulent fibers.
If the meat is dry, it likely lacked enough roasting liquid during the resting phase. Always toss your shredded pork with some of the strained cooking juices before searing.
The Masterpiece Recipe: Crispy Rustic Pork Carnitas
Pork Carnitas Recipe: The Ultimate Guide to Crispy, Succulent Mexican Pulled Pork
Ingredients
Equipment
Method
- Combine pork chunks, salt, spices, citrus juices, and aromatics in a Dutch oven. Cover and roast at 300°F (150°C) for 3 to 3.5 hours until tender.
- Shred the pork and toss with a bit of roasting liquid. Sear in a hot cast iron skillet until deep mahogany burnt ends form.
- Top with cilantro, pickled red onion slivers, and crumbled cotija cheese. Add fresh lime juice droplets before serving.
Notes
Don't skip the orange juice; the sugars are vital for the deep mahogany color.
Closing & Call to Action
Mastering Pork Carnitas is a journey into the heart of Mexican comfort food. The combination of slow-roasted tenderness and cast-iron crispness creates a dish that is visually stunning and culinarily satisfying. We hope you enjoy the deep mahogany bark and succulent pink fibers of this labor of love.
If you enjoyed this recipe, please leave a comment below and share your results! Don’t forget to follow Emily_Table on Pinterest for more visual recipe blueprints and culinary inspiration. Happy cooking!