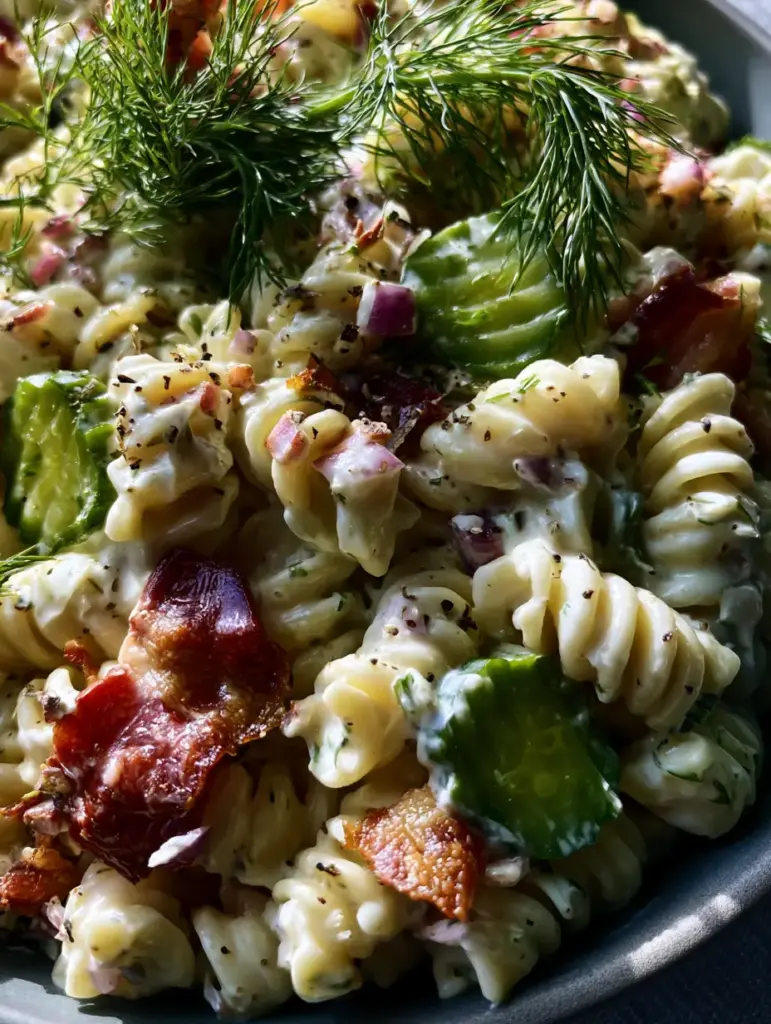
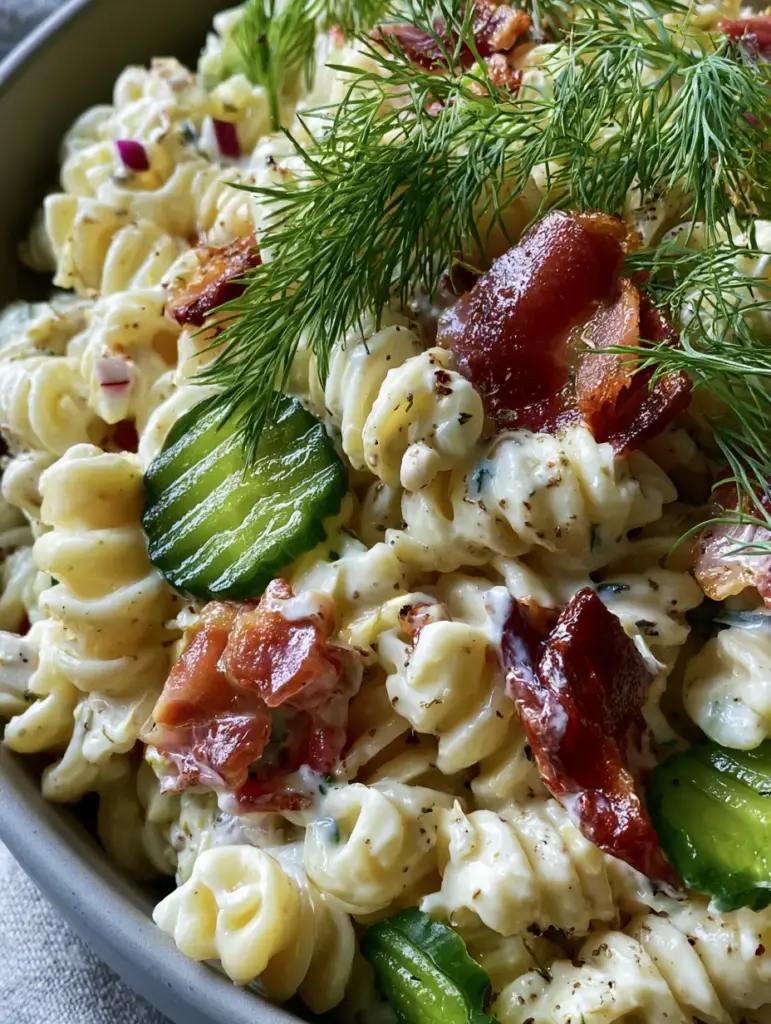
If you are searching for the ultimate crowd-pleasing side dish, this dill pickle pasta salad is the answer to your culinary cravings. Imagine al dente rotini spirals perfectly coated in a thick, velvety white cream dressing that carries the sharp tang of pickle brine and the earthy punch of cracked black pepper.
Every bite of this salad offers a masterclass in textural contrast, featuring large, thick-cut pieces of glistening, crispy mahogany-colored bacon alongside bright emerald-green crinkle-cut dill pickle coins. This is not your grandmother’s bland macaroni salad; it is a vibrant, modern dish designed for the boldest of palates.
Whether you are hosting a summer backyard barbecue or simply looking for a robust lunch option, the visual appeal of oversized feathery dill plumes and jewel-toned red onion makes this dish a true centerpiece. Let’s dive into how to create this Pinterest-perfect masterpiece in your own kitchen.
Why This Viral Pickle Pasta Dish Works
- The Rotini Advantage: The spiral shape of the pasta is scientifically designed to trap the heavy creamy herb dressing in its ridges, ensuring no bite is left dry.
- Smoky Mahogany Bacon: Thick-cut bacon isn’t just a topping; it provides a salty, savory counterpoint to the acidic pop of the vinegar-based pickles.
- Velvety Dressing Base: Using a combination of high-fat carriers ensures the dressing remains glossy and thick rather than soaking into the pasta and disappearing.
- Emerald Visuals: Crinkle-cut pickles provide a specific aesthetic “pop” and a larger surface area for the herb flecks to cling to.
The Essential Elements for Your Grocery List
The Pasta Base
1 lb (454g) Rotini Pasta: I recommend using a high-quality semolina pasta that holds its “al dente” structure even after being dressed. The spirals are essential for capturing the cracked black pepper and dried herbs within the sauce.
The Crunchy Proteins and Veggies
12 oz (340g) Thick-Cut Bacon: You want a thick slab that can be rendered into mahogany-colored chunks without crumbling into dust. This provides the “glistening” look and chewy-crisp texture required for the blueprint.
1.5 cups (225g) Crinkle-Cut Dill Pickles: Use refrigerated pickles if possible for maximum crunch. The crinkle-cut coins offer that classic emerald-green aesthetic with visible seeds that stand out against the white dressing.
1/2 cup (80g) Red Onion: Finely diced red onion acts as the “jewel-toned” accent in the bowl. Soaking them in cold water for ten minutes before adding can mellow the bite while preserving the color.
The Velvety Herb Dressing
1 cup (240ml) High-Quality Mayonnaise: This serves as the fatty, velvety base for our dressing. It ensures the sauce is “heavy” enough to coat the rotini without running to the bottom of the bowl.
1/2 cup (120ml) Sour Cream: Adding sour cream introduces a necessary lactic tang that balances the heavy mayonnaise. It contributes to the “bright white” color seen in the visual prompt.
1/4 cup (60ml) Dill Pickle Brine: Never throw away the juice! This is the secret ingredient that thins the dressing slightly while infusing every millimeter of pasta with pickle flavor.
2 tbsp (8g) Fresh Dill Sprigs: We use both dried herbs in the dressing and oversized plumes of fresh dill for the final garnish. The feathery texture of fresh dill is non-negotiable for the “top-down” visual appeal.
1 tsp (2g) Coarsely Cracked Black Pepper: Use a mortar and pestle or a coarse grinder setting. The visible black flecks are a key diagnostic feature of this specific recipe’s visual style.
Professional Tools for Culinary Accuracy
To achieve the specific “Extreme close-up” look of a modern food blog, a few tools are essential. A heavy-bottomed cast iron skillet is the best way to achieve that mahogany color on your bacon through even heat distribution. You will also need a large matte stoneware bowl to replicate the neutral, modern aesthetic of our visual blueprint. Finally, a crinkle-cutter tool is helpful if you are starting with whole pickles, ensuring those emerald coins have the perfect ridges to catch the sauce.
Step-by-Step Evolution of the Ultimate Salad
Mastering the Al Dente Rotini
Bring a large pot of heavily salted water to a rolling boil. Add your rotini and cook for exactly one minute less than the package directions suggest. We want a firm “al dente” bite because the pasta will continue to soften slightly as it absorbs the pickle brine from the dressing.
Drain the pasta and immediately rinse with cold water. This stops the cooking process and removes excess starch, preventing the spirals from sticking together and ensuring a clean, vibrant look in the final stoneware bowl.
Rendering the Mahogany Bacon
Dice your thick-cut bacon into 1/2-inch (1.25cm) chunks before cooking. Place them in a cold skillet and turn the heat to medium, allowing the fat to render slowly. This is the secret to achieving that deep mahogany color without burning the edges.
Once the bacon is glistening and crispy, move it to a paper-towel-lined plate. The goal is “crispy mahogany,” which provides a stark color contrast against the bright green pickles and white sauce.
Whisking the Velvety Dressing
In a medium mixing bowl, combine the mayonnaise, sour cream, pickle brine, cracked black pepper, and a pinch of salt. Whisk vigorously until the texture is smooth and velvety. You should see the dried herb flecks evenly distributed throughout the white base.
Taste the dressing at this stage. It should be punchy and saltier than you think necessary, as the flavor will be diluted once spread across a pound of pasta. This ensures your bacon-loaded pickle salad hits every flavor note.
The Final Construction and Garnish
In your large matte stoneware bowl, combine the cooled rotini, crinkle-cut pickle coins, mahogany bacon, and finely diced red onion. Pour the heavy herb dressing over the top. Use a large silicone spatula to fold the ingredients together gently, ensuring the rotini spirals are perfectly coated.
Just before serving, garnish heavily with oversized plumes of fresh, feathery bright green dill. This adds the “vibrant” element required for a professional presentation. A final dusting of cracked black pepper over the top adds that artisanal, handheld smartphone photo feel.
Pro Secrets for the Ultimate Pickle Crunch
- The Temperature Rule: Always chill your pasta salad for at least 30 minutes before serving. This allows the dressing to set and the flavors of the dill and onion to meld.
- Bacon Timing: If you are making this a day in advance, keep the bacon separate and stir it in just before serving to maintain that “glistening, crispy” texture.
- Pickle Selection: Avoid “bread and butter” pickles for this recipe. The sugar content cloys against the creamy dressing; stick to “Kosher Dill” for that authentic emerald-green acidic pop.
- Dressing Thickness: If the salad looks too dry after chilling, stir in one additional tablespoon of pickle brine to loosen the velvety sauce.
Preserving Freshness and Storage Logic
This salad maintains its structural integrity exceptionally well. Store leftovers in an airtight container in the refrigerator for up to 3 to 4 days. Because we used rotini and a thick mayonnaise-based dressing, the salad won’t become soggy as quickly as a feta-based pasta dish.
We do not recommend freezing this dish. The emulsion in the creamy herb dressing will break upon thawing, resulting in a grainy texture that destroys the velvety visual appeal we worked so hard to achieve.
What to Serve with Your Pickle Pasta Masterpiece
This dish is incredibly versatile and pairs beautifully with smoky grilled meats. It serves as a refreshing acidic counterpoint to a heavy cheeseburger-themed spread or a classic grinder sandwich.
For a lighter summer lunch, serve it alongside a fresh caprese salad or a bright citrus orzo dish. The creaminess of the pickle dressing complements the acidity of fresh tomatoes and balsamic glazes perfectly.
Frequently Asked Questions
While any dill pickle works, crinkle-cut slices provide more surface area for the dressing to cling to and offer the specific ’emerald-green’ ridge texture that defines this modern recipe’s look.
Yes, it is actually better after chilling for a few hours. However, for the best visual appeal and texture, add the crispy mahogany bacon and fresh dill plumes just before serving.
The secret is to use a heavy base of mayonnaise and sour cream and to toss the pasta while it is completely cold. If it dries out in the fridge, simply stir in an extra splash of pickle brine before serving.
To achieve a mahogany finish, use thick-cut bacon and render it slowly over medium heat. This allows the sugars and proteins to caramelize deeply without burning the edges.
Rotini is the superior choice because its helical spirals are designed to trap the thick, velvety dressing and small bits of dill and pepper, ensuring maximum flavor in every bite.
The Complete Dill Pickle Pasta Salad Recipe
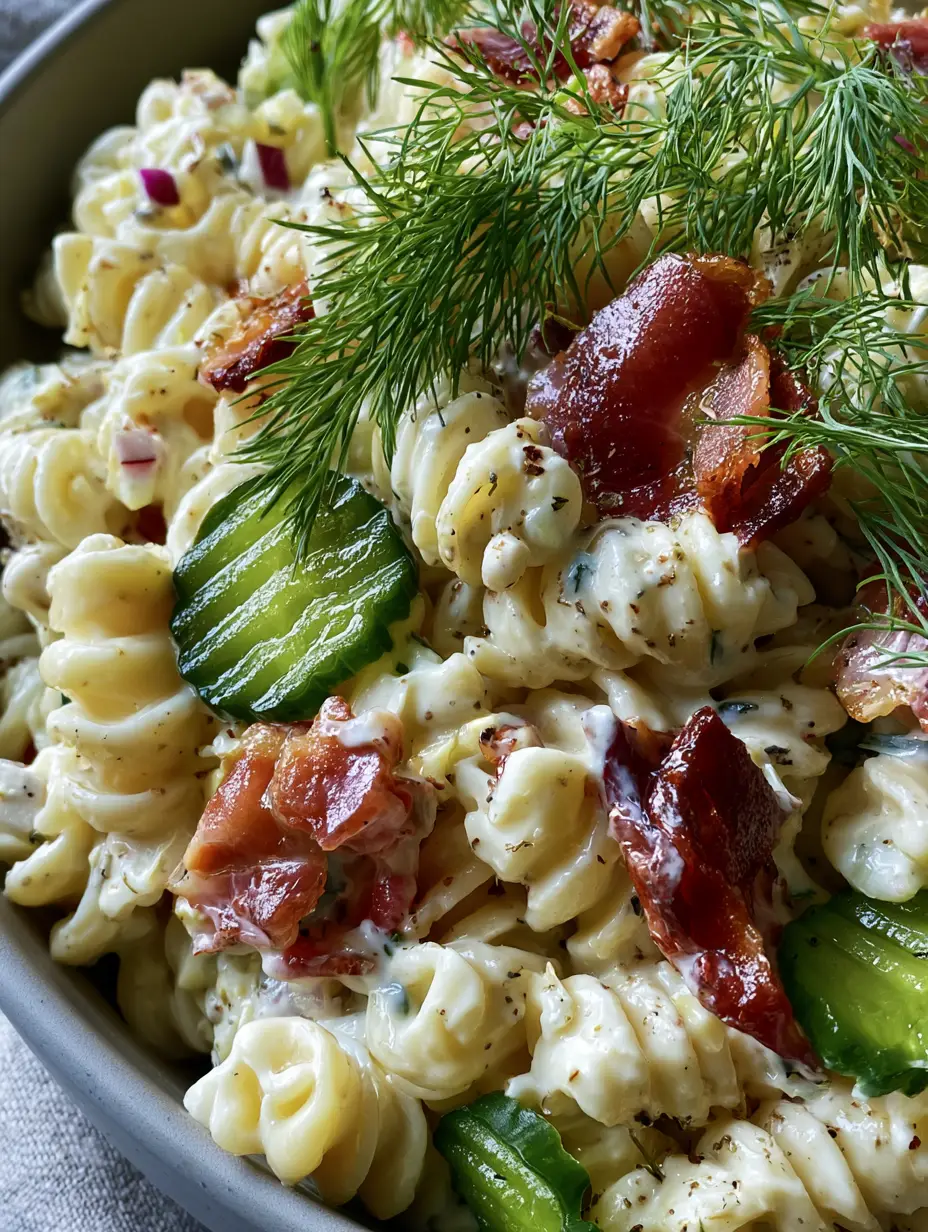
Dill Pickle Pasta Salad with Crispy Bacon and Creamy Herb Dressing
Ingredients
Equipment
Method
- Cook rotini in salted water until al dente. Rinse with cold water immediately to stop cooking and maintain spiral structure.
- Cook thick-cut bacon chunks in a skillet over medium heat until they reach a deep mahogany color and glistening, crispy texture.
- In a bowl, combine mayo, sour cream, brine, black pepper, and dill. Whisk until a thick, velvety white sauce forms.
- Toss the pasta, pickles, onion, and bacon in the dressing until the rotini spirals are perfectly coated. Garnish with oversized dill plumes.
Notes
Add bacon just before serving to keep it extra crispy.
Join the Table!
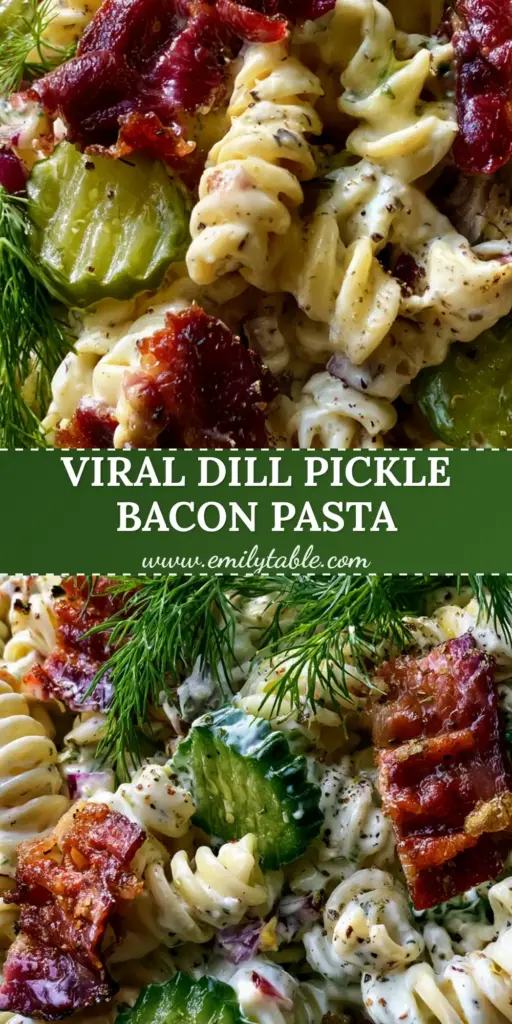
This dill pickle pasta salad is more than just a side dish; it’s a conversation starter. The combination of smoky bacon, tangy pickles, and a velvety herb dressing creates a flavor profile that guests will be asking for all summer long. If you enjoyed this recipe, please leave a comment below and let me know how yours turned out!
Don’t forget to take a photo of your creation and share it with me on Pinterest. Your support helps me continue developing these vision-aligned recipes for home cooks everywhere!