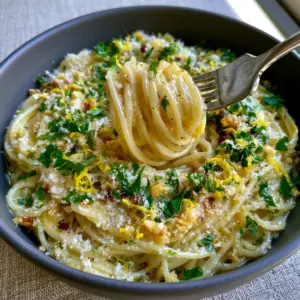
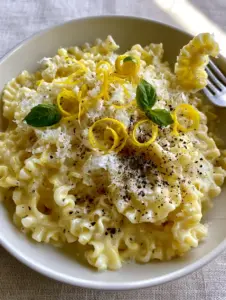
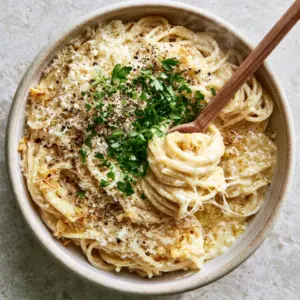
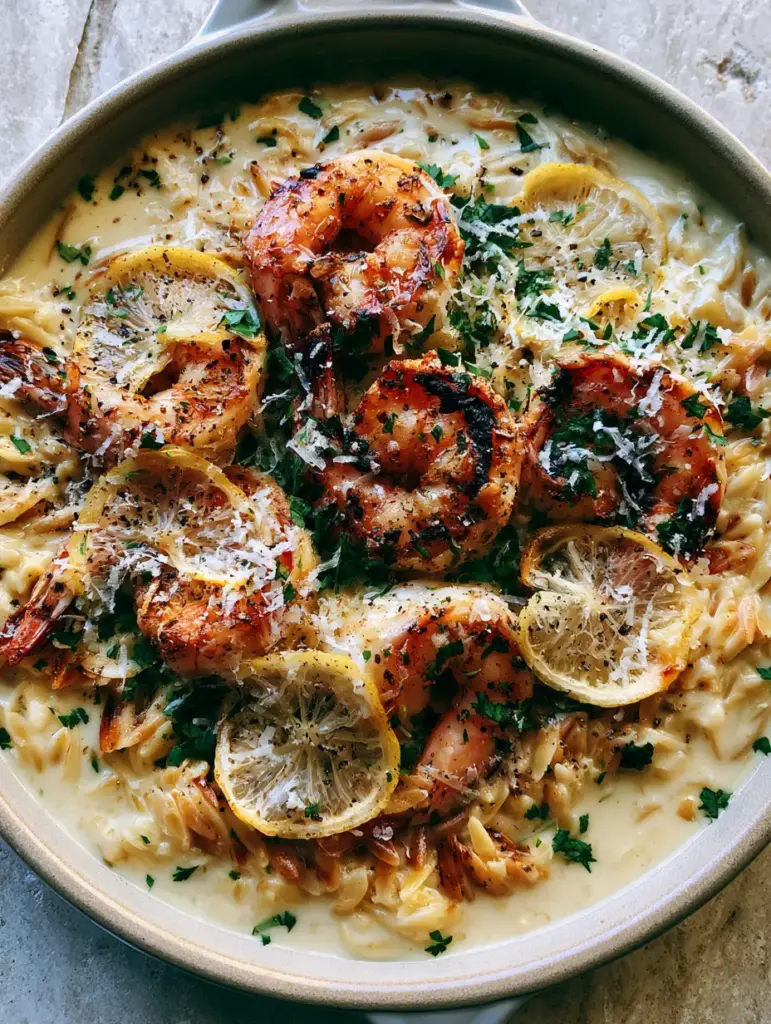
There is a specific culinary magic that happens when high-heat searing meets a velvety, starch-enriched cream sauce. This shrimp orzo isn’t just a meal; it is a masterclass in textural contrast. Imagine jumbo shrimp, their exteriors kissed by the flame until charred and vibrant orange, resting atop a bed of toasted golden-brown orzo grains.
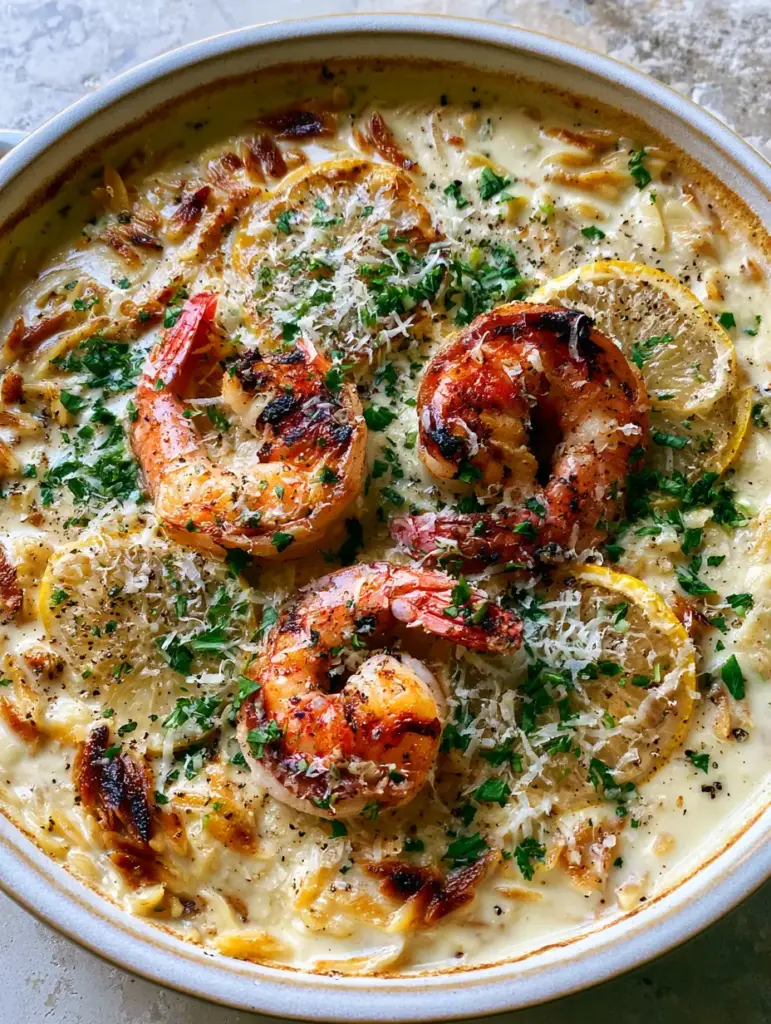
The visual appeal of this dish, as seen in our latest kitchen captures, relies on the interplay of colors and light. The ivory hue of the garlic cream sauce provides a soft backdrop for the bright emerald of fresh parsley and the translucent shimmer of paper-thin lemon wheels. Every element is designed to capture and reflect light, from the olive oil sheen to the micro-planed flakes of aged Parmesan.
If you have ever struggled with pasta dishes that feel one-dimensional, this recipe is your solution. By toasting the dry orzo before adding liquid, we unlock a nutty, complex flavor profile that standard boiling simply cannot achieve. This technique, combined with a precision sear on the seafood, elevates a simple weekday dinner into a five-star dining experience.
Why You Will Crave This One-Skillet Masterpiece
- The Depth of Toasted Orzo: Unlike traditional pasta, toasting the grains in olive oil creates a resilient texture and a golden-brown aesthetic that stands up to the heavy cream sauce.
- Contrast of Temperatures and Textures: You get the snap of the perfectly seared jumbo shrimp against the “velvety” and “thick” consistency of the garlic-infused base.
- Vibrant Flavor Profile: The brightness of the lemon wheels cuts through the richness of the Parmesan cream, ensuring every bite is balanced and fresh.
- Visual Sophistication: With charred pink hues, emerald parsley, and coarse black pepper, this dish is as stunning to look at as it is to eat.
The Essential Elements: Decoding the Ingredients
To achieve the exact look of our visual blueprint, we must select ingredients that offer both structural integrity and aesthetic beauty. Here is what you will need to gather for the ultimate shrimp orzo experience.
Jumbo Shrimp (1 lb / 450g): Look for 16/20 count shrimp to ensure they remain succulent after a high-heat sear. Their size is crucial for creating those visible charred marks without overcooking the center.
Dry Orzo Pasta (1.5 cups / 300g): This rice-shaped pasta is the canvas for our dish. We will be browning it to a “golden-brown” state to ensure it doesn’t disappear into the sauce.
Extra Virgin Olive Oil (3 tbsp / 45ml): Essential for the initial sear and for providing that characteristic “glossy sheen” that reflects window light in the final presentation.
Heavy Cream (1 cup / 240ml): This is the foundation of our “pale-ivory Parmesan cream sauce.” It provides the fat content necessary to emulsify with the pasta starch.
Low-Sodium Chicken or Seafood Stock (2.5 cups / 600ml): The cooking liquid for the orzo. Using stock instead of water builds an invisible layer of umami within the grains.
Fresh Garlic (4 cloves, minced): The aromatic backbone. We want enough garlic to be present in every bite without overpowering the delicate sweetness of the shrimp.
Parmesan Cheese (1/2 cup / 50g, micro-planed): Using a micro-plane creates the “heavy dusting of flakes” described in our blueprint. It melts instantly into the sauce while leaving visible wisps on top.
Fresh Lemons (2 total): One will be juiced for the sauce, and the other will be sliced into “ultra-thin translucent lemon wheels” for the final garnish.
Fresh Parsley (1/4 cup / 10g, finely chopped): The “bright emerald green” contrast that brings the dish to life. Always use flat-leaf Italian parsley for the best flavor.
Coarse Black Pepper and Sea Salt: Large cracks of pepper are vital for the visual “cracked black pepper” finish and for cutting through the creamy fats.
The Professional Kitchen Setup
To replicate the macro shot of the ceramic skillet, you need the right tools. A heavy-bottomed ceramic or cast-iron skillet is non-negotiable for achieving the blackened char marks on the shrimp while maintaining even heat for the orzo.
You will also need a micro-plane grater. This tool is the secret to that “snowfall” effect of Parmesan cheese. A standard box grater produces shreds that are too heavy; we want delicate flakes that sit on the surface like lace.
Finally, ensure you have a sharp mandoline or a very steady hand with a chef’s knife for the lemon wheels. They must be thin enough to be translucent, allowing the pink hues of the shrimp to show through if they overlap.
The Masterclass: How to Achieve That Golden Sear
Preparing the Protein for Maximum Char
Pat your shrimp bone-dry with paper towels. Any moisture on the surface will create steam, preventing the formation of those “vibrant pink and orange hues” and blackened marks. Season them aggressively with salt and a hint of smoked paprika if you want to enhance the orange tones.
Heat 2 tablespoons (30ml) of olive oil in your skillet over medium-high heat. Wait until the oil shimmering. Lay the shrimp in a single layer, ensuring they do not touch. Sear for 2 minutes per side without moving them. You are looking for a deep crust to form. Once seared, remove them from the pan and set aside; we will nestle them back in at the very end.
Toasting the Orzo to Perfection
In the same skillet, add the remaining oil and the dry orzo. Stir constantly for 3-5 minutes. You will hear the grains “whisper” as they toast. Look for a transition from pale yellow to a toasted golden-brown. This step is critical for the “toasted golden orzo” visual requirement and adds a popcorn-like aroma to your kitchen.
Building the Velvety Garlic Cream Emulsion
Add the minced garlic to the toasted orzo and sauté for just 30 seconds until fragrant. Deglaze the pan with the chicken stock, scraping up any browned bits (fond) from the shrimp sear. Reduce the heat to medium-low, cover, and simmer for 8-10 minutes. The orzo should absorb most of the liquid, becoming tender but remaining al dente.
Stir in the heavy cream and half of the micro-planed Parmesan. The sauce will transition into a “thick, velvety pale-ivory” consistency. If the sauce looks too thin, simmer for another 2 minutes uncovered. The starch from the orzo will naturally thicken the cream into a glossy glaze.
Chef’s Secrets for Restaurant-Quality Results
- The Emulsification Trick: If your sauce looks oily rather than velvety, add a splash of pasta water or extra stock and whisk vigorously. This helps re-bind the fats and liquids.
- Acid Balance: Always add the lemon juice at the very end of the cooking process. Cooking lemon juice for too long can turn it bitter; adding it off the heat preserves its bright, floral notes.
- Resting the Dish: Let the skillet sit for 3 minutes before garnishing. This allows the orzo to settle into the sauce, creating that “suspended” look where the grains are perfectly coated but not drowning.
- Freshness Factor: Chop your parsley at the last possible second. Pre-chopped herbs lose their “emerald green” luster and turn dark quickly.
Preserving the Magic: Storage and Reheating
This shrimp orzo is best enjoyed immediately to appreciate the “glossy sheen” and the snap of the shrimp. However, if you have leftovers, store them in an airtight container for up to 2 days. The orzo will continue to absorb moisture as it sits, so the sauce will thicken significantly in the fridge.
To reheat, place the mixture back in a skillet over low heat. Add a splash of milk or cream (about 2 tablespoons / 30ml) to loosen the sauce. Heat gently just until warm; overcooking the shrimp during reheating will make them rubbery and lose their vibrant char.
Elevate the Plate: Side Dish Pairings
While this creamy dish is a complete meal on its own, it pairs beautifully with light, acidic starters. Consider serving a Mexican shrimp cocktail as a refreshing appetizer to contrast the rich garlic cream sauce. The brightness of the tomato base cleanses the palate for the main course.
If you are hosting a larger gathering, you can create a “Shrimp Lovers” spread. Pair this orzo with other seafood-forward pastas like a cajun shrimp and steak alfredo for those who enjoy a bit more heat, or a blackened cajun salmon pasta to offer a variety of proteins.
For a lighter side, a crisp green salad or even a street corn pasta salad can provide a nice texture variety to the meal.
Answers to Your Culinary Questions
While you can use milk, the sauce will be significantly thinner and won’t achieve the ‘velvety ivory’ consistency described. Heavy cream is essential for the texture.
Ensure the shrimp are completely dry before seasoning and use a high-heat sear in a ceramic or cast-iron skillet without overcrowding the pan.
Ensure your cream is at room temperature before adding it to the pan, and turn the heat down to low to avoid boiling the dairy aggressively.
Use a sharp mandoline slicer on the thinnest setting to achieve translucent lemon wheels that garnish the dish beautifully without being overpowering.
Toasting the dry orzo in oil creates a deeper, nutty flavor and prevents the pasta from becoming mushy, helping it maintain its shape in the thick cream sauce.
The Ultimate Skillet Shrimp Orzo Recipe
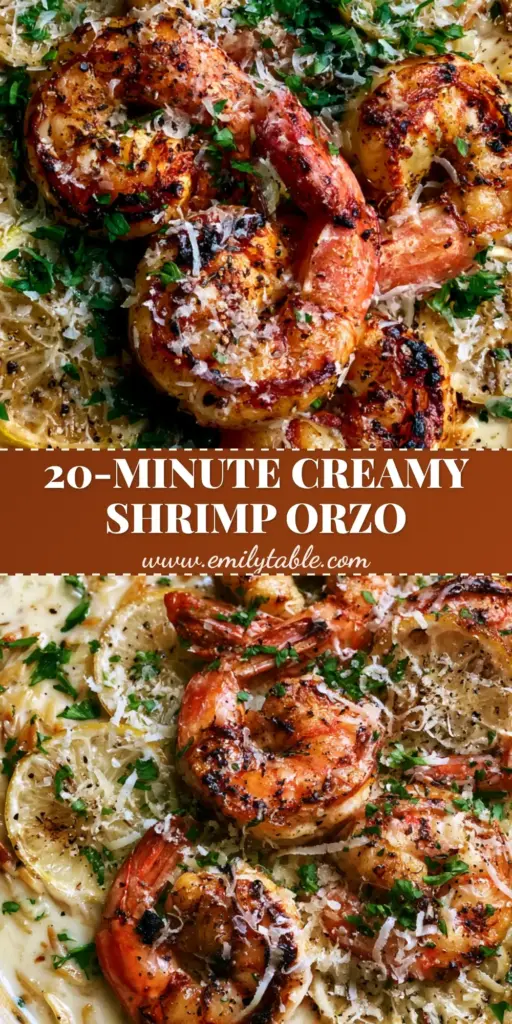
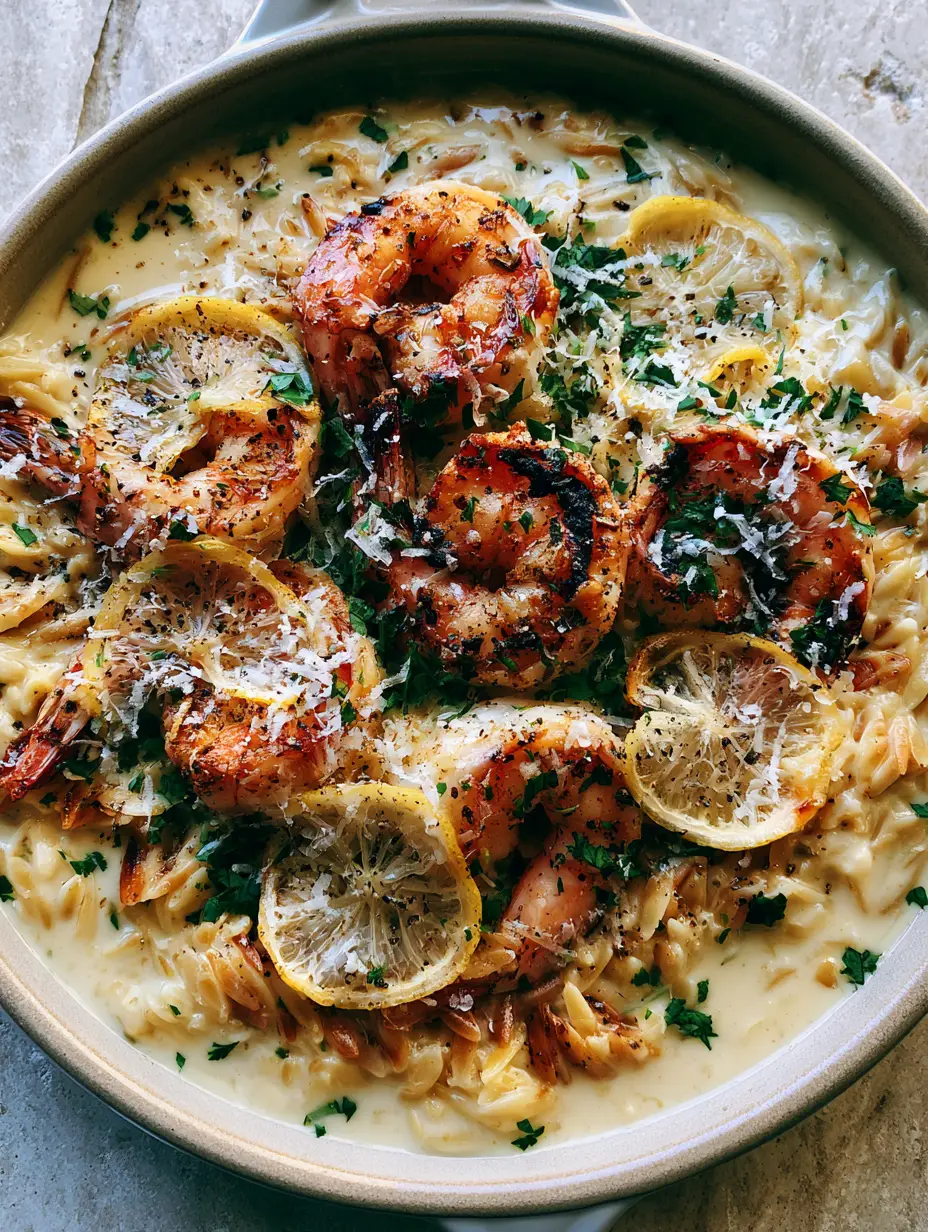
Shrimp Orzo with Creamy Lemon Garlic Sauce and Seared Jumbo Shrimp
Ingredients
Equipment
Method
- Pat the jumbo shrimp completely dry and season with salt and pepper. This is crucial for achieving charred pink and orange hues.
- Heat 2 tbsp olive oil in a skillet. Sear shrimp for 2 minutes per side until blackened char marks appear. Remove and set aside.
- Add remaining oil and orzo to the skillet. Stir for 3-5 minutes until the orzo is a toasted golden-brown.
- Add minced garlic, then pour in chicken stock. Cover and simmer for 8-10 minutes until liquid is mostly absorbed.
- Stir in heavy cream and half the Parmesan. Continue to stir until a thick, velvety pale-ivory cream sauce forms.
- Nestle shrimp back in. Top with translucent lemon wheels, micro-planed Parmesan, emerald parsley, and coarse black pepper.
Notes
For an extra glossy sheen, drizzle a teaspoon of fresh olive oil over the dish just before serving.
Final Thoughts on the Perfect One-Pan Dinner
Crafting the perfect shrimp orzo is an exercise in patience and technique. From the initial toast of the grains to the final dusting of micro-planed cheese, every step contributes to a dish that is visually stunning and culinarily sound. We hope this guide helps you achieve that elusive “velvety” texture and “vibrant” color in your own kitchen.
If you enjoyed this recipe, please leave a comment below and let us know how your sear turned out! Don’t forget to share your creations and follow us on Pinterest for more visually-driven recipe inspiration.